
With Apache Guacamole, you can use all kind of different remote desktop protocols (like SSH, VNC, RDP) to access your remote machines. Guacamole can run fine on Docker, but it’s a bit tricky to deploy on a Kubernetes environment. I haven’t found an existing deployment for the current version of Guacamole, so I decided to create my own.
Guacamole needs two containers running in coexistance, one is the Guacamole daemon and the other the actual application. Another needed component is an existing PostgreSQL database. I used the Postgres cluster which I have deployed also on Kubernetes, managed by the Zalando Postgres Operator (see here for an article on that topic). As always, if you want to quickstart, you can use the Kustomization you can find on my Github repository. I also put the disclaimer in this article, I reused some of the code of thomas-illiet/k8s-guacamole. But he hasn’t updated his deployment for Guacamole 1.4 (which is the latest version as by the time of writing this) and I found it a little bit complicated.
Guacamole has a bit of a complicated way to prepare a Postgres database for Guacamole. In shortness of time, I did the database preparation manually. First, you need to create a guacamole user on your database and second the database itself.
create user guacamole password 'supersecret';
create database guacamole owner guacamole;
Now you need to generate an initialization script out of a Docker container and apply this script against your database.
docker run --rm guacamole/guacamole /opt/guacamole/bin/initdb.sh --postgres > initdb.sql
psql -U guacamole -d guacamole < initdb.sql
With that done, you are free to proceed. I plan to create a helper container image in the future, which will do the checking if a database initialization is needed and applies the initialization. This will then be started as an init container in the pod.
So off to the Kubernetes side of things. I created a Kubernetes deployment which will create a pod with the two containers in it. It will expose all needed ports on the pods / containers.
apiVersion: apps/v1
kind: Deployment
metadata:
  name: guacamole
  namespace: guacamole
spec:
  replicas: 1
  selector:
    matchLabels:
      app: guacamole
  template:
    metadata:
      labels:
        app: guacamole
    spec:
      containers:
        - name: guacd
          image: guacamole/guacd:1.4.0
          imagePullPolicy: IfNotPresent
          ports:
            - containerPort: 4822
          readinessProbe:
            tcpSocket:
              port: 4822
            initialDelaySeconds: 5
            periodSeconds: 10
          livenessProbe:
            tcpSocket:
              port: 4822
            initialDelaySeconds: 15
            periodSeconds: 20
        - name: guacamole
          image: guacamole/guacamole:1.4.0
          imagePullPolicy: IfNotPresent
          env:
            - name: GUACD_HOSTNAME
              value: "localhost"
            - name: GUACD_PORT
              value: "4822"
            - name: POSTGRES_PORT
              valueFrom:
                secretKeyRef:
                  name: guacamole-database-credentials
                  key: postgres-port
            - name: POSTGRES_HOSTNAME
              valueFrom:
                secretKeyRef:
                  name: guacamole-database-credentials
                  key: postgres-hostname
            - name: POSTGRES_DATABASE
              valueFrom:
                secretKeyRef:
                  name: guacamole-database-credentials
                  key: postgres-database
            - name: POSTGRES_USER
              valueFrom:
                secretKeyRef:
                  name: guacamole-database-credentials
                  key: postgres-user
            - name: POSTGRES_PASSWORD
              valueFrom:
                secretKeyRef:
                  name: guacamole-database-credentials
                  key: postgres-password
          ports:
            - name: guacamole-app
              containerPort: 8080
          readinessProbe:
            tcpSocket:
              port: 8080
            initialDelaySeconds: 5
            periodSeconds: 10
          livenessProbe:
            tcpSocket:
              port: 8080
            initialDelaySeconds: 15
            periodSeconds: 20
As you can see, all database connection information and credentials are to be read out of a Kubernetes secret guacamole-database-credentials. So, this is the next step then to create this manifest:
apiVersion: v1
kind: Secret
metadata:
  name: guacamole-database-credentials
  namespace: guacamole
data:
  postgres-user: Z3VhY2Ftb2xl
  postgres-password: U3VwZXJzZWNyZXQ=
  postgres-hostname: cG9zdGdyZXMtaG9zdA==
  postgres-port: NTQzMg==
  postgres-database: Z3VhY2Ftb2xl
type: Opaque
All values are base64 encoded, adjust them to your needs but don’t forget to re-encode them before applying it. Alternatively, you can use a secret with stringData.
We want to connect to Guacamole using a webbrowser, so we need a Service which handles the inbound traffic. In my case, I have an ingress controller on my Kubernetes cluster (see below), if this is not the case for you, you will probably want to change the service type to LoadBalancer or NodePort and access the given IP directly (see some examples on services here). But this will not handle SSL for you, so I don’t recommend you to do so.
apiVersion: v1
kind: Service
metadata:
  name: guacamole
  namespace: guacamole
  labels:
    app: guacamole
spec:
  ports:
    - name: guacamole-app
      port: 8080
      targetPort: 8080
      protocol: TCP
  selector:
    app: guacamole
As mentioned above, I use an ingress controller for handling my http / https traffic and SSL termination. So here is an example for the ingress manifest:
apiVersion: networking.k8s.io/v1
kind: Ingress
metadata:
  name: guacamole
  namespace: guacamole
  labels:
    app: guacamole
  annotations:
    # the name of the nginx-ingress-controller class
    kubernetes.io/ingress.class: "nginx"
    cert-manager.io/cluster-issuer: "letsencrypt-staging"
spec:
  tls:
  - hosts:
    - guacamole.mydomain.de
    secretName: guacamole.mydomain.de
  rules:
  - host: guacamole.mydomain.de
    http:
      paths:
      - path: /
        pathType: Prefix
        backend:
          service:
            name: guacamole
            port:
              number: 8080
This probably will vary from your implementation, so prepare for some changes here. With that we nearly have all needed resource manifests prepared. As last one, we have to create the namespace:
kind: Namespace
apiVersion: v1
metadata:
  name: guacamole
Let’s apply the created manifests in the following order (or use the kustomization from my repository).
kubectl apply -f namespace.yaml
kubectl apply -f secret.yaml
kubectl apply -f deployment.yaml
kubectl apply -f service.yaml
kubectl apply -f ingress.yaml
With some waiting and checking the Guacamole pod for errors, you should be able to connect to the Guacamole WebUI. Your first logon (with an empty database) needs to be done with the user guacadmin and the password guacadmin. It’s obviously a security risk to leave it that way. Create your own user (using the WebUI) ASAP and disable / remove the guacadmin user afterward.
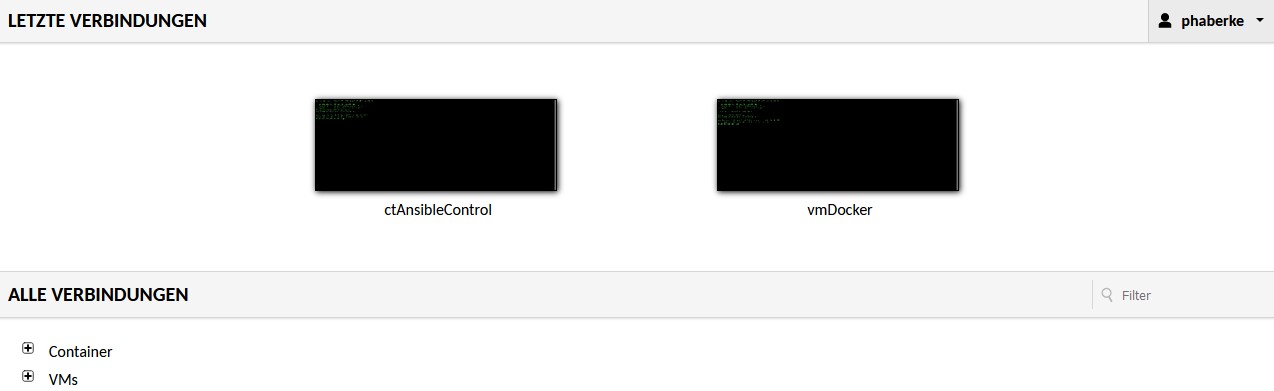
You are now able to manage your connections, provide credentials and finally, access the remote system by Guacamole.
Philip


Thanks for this article, it helped me put together my own manifests for deploying guacamole on kubernetes using flux.
I’ve expanded on your work to also include the postgres deployment, along with the creation and initialization of the database. I thought you might be interested in including this in your repository, if so, let me know and I will send you the script (kustomize) file.
You’re welcome. Feel free to raise a pull request at my Cookbooks repo here: https://github.com/thedatabaseme/cookbooks/tree/master/kubernetes/guacamole
Kind regards
Philip
PR created, adapted from my production environment to fit your manifests. I’ve also removed the manual steps from the readme.md since these are no longer relevant.