ArgoCD is a GitOps tool for Kubernetes. What this means and how it works to get Argo deployed on your Kubernetes cluster, that the topic of this article.
What does GitOps mean anyway? With the context of Kubernetes, it practically means, that one takes the continuous out of software development and apply it to Kubernetes deployments. So handling your Kubernetes deployments the same way, you do nowadays with a software project. So ArgoCD constantly checks for a Kubernetes deployment update in a Git repository and applies this updated deployment to your Kubernetes cluster(s).
So let’s jump into how to deploy ArgoCD itself and use it’s power for deploying your Kubernetes projects to a Kubernetes cluster. As always, have a look into my Github repository where I stored the most current version of the manifests for this article. Also, you can find the official Argo “Getting Started” documentation here.
Deploying ArgoCD
To deploy Argo, we need a namespace to deploy it to. By default, the online manifests we use rely on the namespace to be named argocd.
kind: Namespace
apiVersion: v1
metadata:
  name: argocd
After that, we create a Kustomization overlay, which uses the online manifest provided by ArgoCD to create all other needed resources. Don’t get confused by the ingress.yaml in the kustomization.yaml, we get to it in the next chapter.
apiVersion: kustomize.config.k8s.io/v1beta1
kind: Kustomization

namespace: argocd

resources:
  - namespace.yaml
  - https://raw.githubusercontent.com/argoproj/argo-cd/v2.3.4/manifests/install.yaml
  - ingress.yaml
As you can see, we rely on a fixed version of Argo. If you don’t mind the version, you can also use the latest stable version instead by providing stable instead of the version.
Ingress
I promised, we come to the ingress.yaml. This can come a little bit tricky with ArgoCD cause Argo speaks two protocols (HTTPS / gRPC) using the same port (443). In my case, I use the nginx ingress controller, which only accepts one protocol in the nginx.ingress.kubernetes.io/backend-protocol annotation. If you want to use only one ingress rule, you have to specify, that TLS will be terminated by the ArgoCD server instead of nginx. This also leads to the issue, that you receive a warning message when using the ArgoCD CLI (see below). You could work around this issue by specifying two separate ingress rules, but I don’t mind the warning, so I stick with one for now. You can find more example configurations for other Ingress controllers here.
apiVersion: networking.k8s.io/v1
kind: Ingress
metadata:
  name: argocd
  namespace: argocd
  annotations:
    cert-manager.io/cluster-issuer: letsencrypt-production
    kubernetes.io/ingress.class: nginx
    kubernetes.io/tls-acme: "true"
    nginx.ingress.kubernetes.io/ssl-passthrough: "true"
    nginx.ingress.kubernetes.io/backend-protocol: "HTTPS"
spec:
  rules:
  - host: argocd.mydomain.de
    http:
      paths:
      - path: /
        pathType: Prefix
        backend:
          service:
            name: argocd-server
            port:
              name: https
  tls:
  - hosts:
    - argocd.mydomain.de
    secretName: argocd-secret # do not change, this is provided by Argo CD
You need to update your hostname (argocd.mydomain.de) in the manifest to your setup. Also, depending if you have a cert-manager setup running on your cluster, you need or don’t need to remove the cert-manager.io/cluster-issuer annotation. This configuration will lead to a Let’s encrypt signed certificate. The cluster-issuer name can differ in your environment though.
You’re good to go now to deploy ArgoCD by triggering the following command:
kubectl apply -k .Give the deployment some time to get all up and running. Use this time to configure your DNS server to know your ArgoCD DNS name if you need. After that, open a Browser and enter the URL / hostname you defined above. You should be greeted with a login screen.
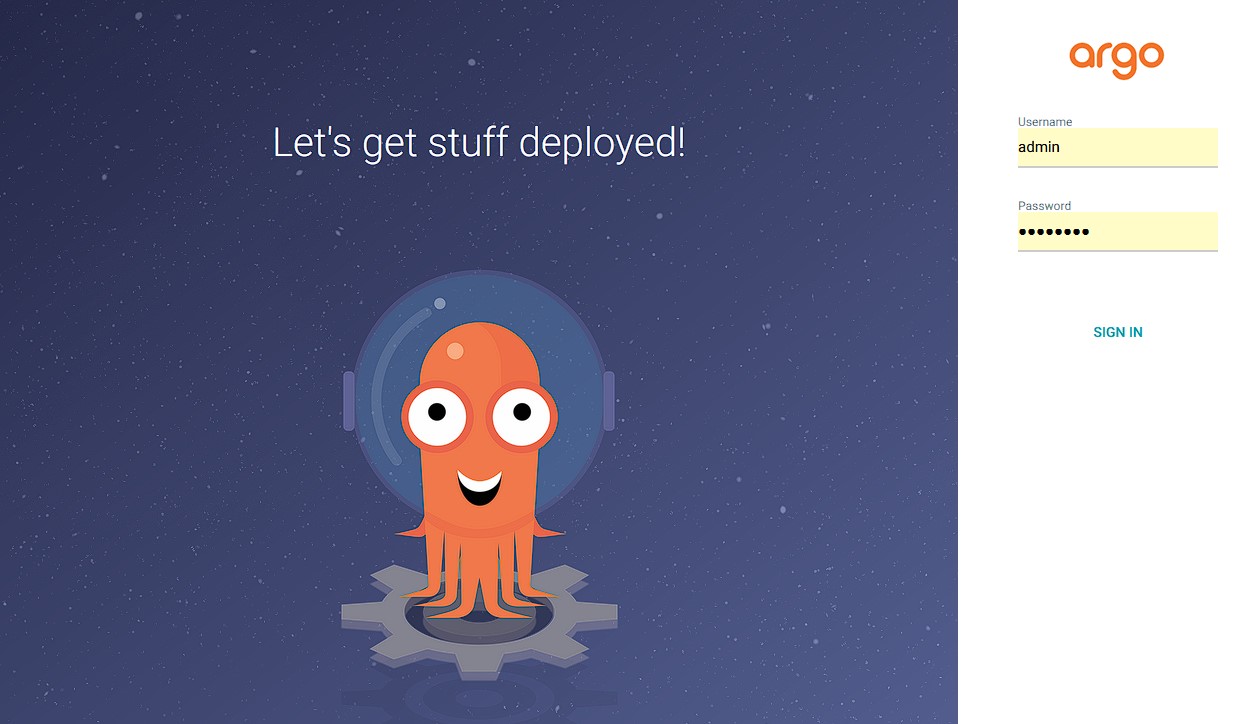
On first time startup, Argo will generate a password for the default admin user. You can find the password in the secret argocd-initial-admin-secret. Get the clear text password by the following command:
kubectl -n argocd get secret argocd-initial-admin-secret -o jsonpath="{.data.password}" | base64 -dLogin and set a new password in the WebUI under the User settings menu. After you’ve done so, you can safely delete the initial password secret.
As you can see, there isn’t much to be seen as for now. You’re seduced by the WebUI to create your first GitOps application deployment by the Create Application button in the center of the screen. If you want to follow the easy path, feed free to click on it and start right here. But I promise you, the cool stuff is yet to come, so try to resist to click on it for now. If you can’t, find more information on how to create Applications using the WebUI here.
ArgoCD CLI
One nice thing about Argo is, that you can use the power of a fancy WebUI, but you can also use a slim commandline interface. You can find the installation instructions for the CLI here.
I will not write a lot on the CLI though, but at least how to login and list some things. To login, trigger the following command and provide username and password (the one you set in the chapter above).
❯ argocd login argocd.mydomain.de
WARN[0000] Failed to invoke grpc call. Use flag --grpc-web in grpc calls. To avoid this warning message, use flag --grpc-web.
Username: admin
Password:
'admin:login' logged in successfully
Context 'argocd.mydomain.de' updated
You see the warning message? That’s the one I was talking about in the Ingress chapter. To list some ArgoCD resources, you can use the argocd <resource_type> list command. e.g. we want to get all cluster listed, which are managed by Argo (which will be one entry after the initial deployment).
❯ argocd cluster list
WARN[0000] Failed to invoke grpc call. Use flag --grpc-web in grpc calls. To avoid this warning message, use flag --grpc-web.
SERVER                          NAME        VERSION  STATUS   MESSAGE                                              PROJECT
https://kubernetes.default.svc  in-cluster           Unknown  Cluster has no application and not being monitored.
Declarative Application and ApplicationSet
As I’ve mentioned above, you can safely use the WebUI or the CLI to create and manage ArgoCD resources. But here’s the cool thing. You can provide all ArgoCD resources (CRDs) also as YAML manifests. Where is the point you might ask. Think of getting the ArgoCD deployment also managed as code (YAML manifests). You’ve already done so for the ArgoCD deployment itself in the first chapter. Now you can also define applications that Argo should get deployed for you as code. So you might want to get a CI/CD pipeline triggered on every code change of your Argo Deployment which deploys Argo and all resource definitions to your cluster.
Changing something on your Application definition will lead Argo to automatically apply the latest changes.
There are two types of resources. Application and ApplicationSet. The main difference is, that you can specify so called inline generators which allow you to template your Application definition. If you manage multiple clusters with ArgoCD and you want to get an Application deployed with cluster specific parameters, this is your way to go. You can find an example of an ApplicationSet definition on my Github repository here. In there, I use the cluster generator to add some additional context to my guestbook deployment. Like on which cluster I want it to be deployed under which name.
Deploy an application
Enough of talking, time to get our hands dirty. Let’s deploy one of the demo applications from ArgoCD to our cluster. I choose the guestbook application for that. Create a guestbook.yaml including the following Application CRD.
apiVersion: argoproj.io/v1alpha1
kind: Application
metadata:
  name: guestbook
  namespace: argocd
spec:
  destination:
    namespace: default
    server: 'https://kubernetes.default.svc'
  source:
    path: kustomize-guestbook
    repoURL: 'https://github.com/argoproj/argocd-example-apps'
    targetRevision: HEAD
  project: default
  syncPolicy:
    automated:
      prune: false
      selfHeal: false
Apply the Application CRD to your cluster and check the status after that:
kubectl get applications --all-namespaces
NAMESPACE   NAME        SYNC STATUS   HEALTH STATUS
argocd      guestbook   Synced        Progressing
Now head to the WebUI again and check it also there. You should see something like this.
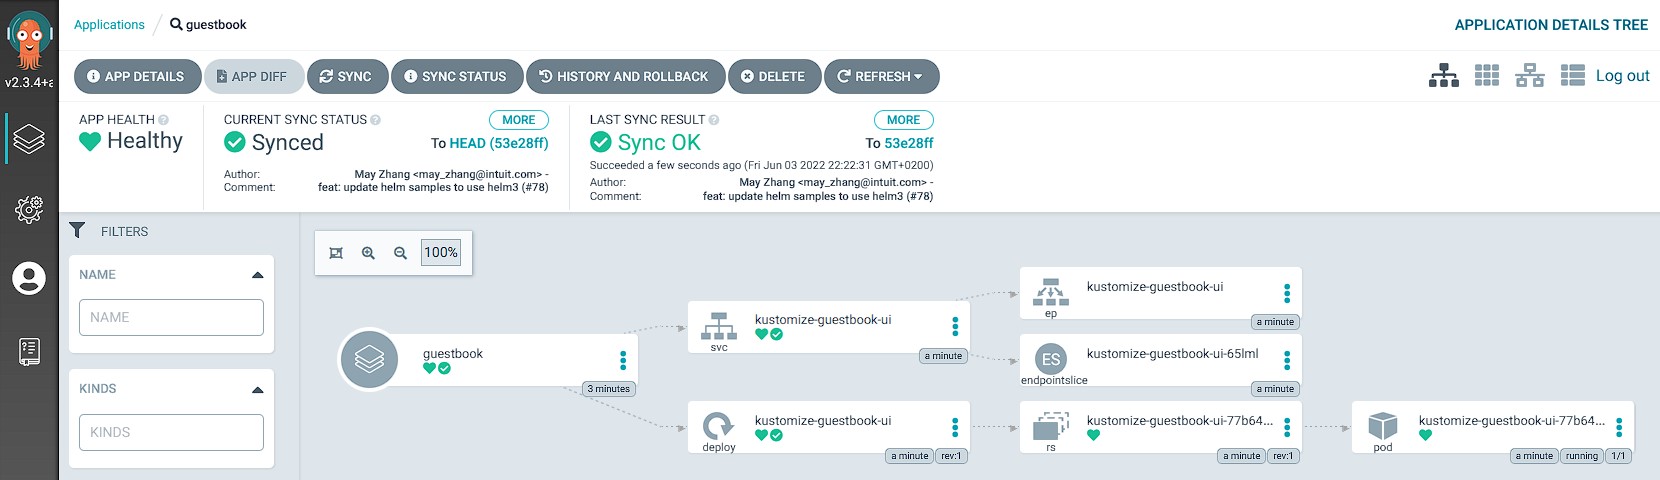
You see all resources that belong to this specific deployment and the relationship of the components. Errors and problems are also comfortable to analyze by clicking on the respective resource and check for events or logs.
I hope you found this guide useful.
Philip